Transaction Merge Wizard Step 4
The Transaction Merge Wizard will merge transactions from the Patient Transaction screen with a letter that you create in MOGO’s Word Processor.
After following Selecting Display Fields in Step 1, Select Criteria in Step 2, and Setup Criteria in Step 3, you will go to Format Display Step 4.
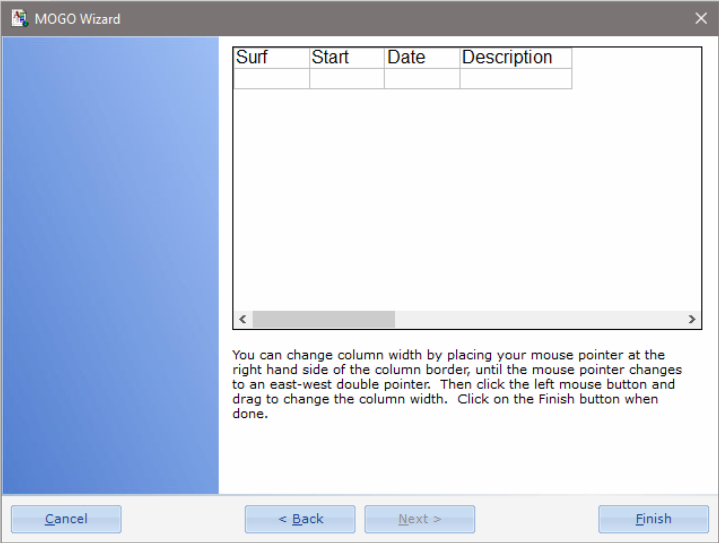
Step 4 in the Transaction Merge Wizard is where you can change the width of the columns. Just point the cursor at the right hand side of the column border. It will change to an east-west pointer. Click and drag to resize the right column border. The instructions are shown at the bottom of this window. You cannot edit the column headings or type in the columns. Form Display is only to resize column borders.
Tip: The column width can also be changed when you print the document as a quick letter!
You will be able to change the appearance of any table that was created using the Transaction Merge Wizard by selecting Table on the menu bar in the Word Processor after you have created the table. An example of changing the appearance of a table would be if you would like shading and borders of the table.
You can click on the <Back button to go back to Step 3. Otherwise, click on the Finish button when you are done. The table you created is now shown in your word processing document.