Transaction Merge Wizard Step 3
The Transaction Merge Wizard will merge transactions from the Patient Transaction screen with a letter that you create in MOGO’s Word Processor.
After following Selecting Display Fields in Step 1, and Select Criteria in Step 2, you will go to Setup Criteria in Step 3.
The fields you selected in Step 2 in the Transaction Merge Wizard will be shown under 1)Selected Criteria. Step 3 is where you will be customizing the selected criteria so that the Transaction Merge Wizard will contain only the information you have specified.
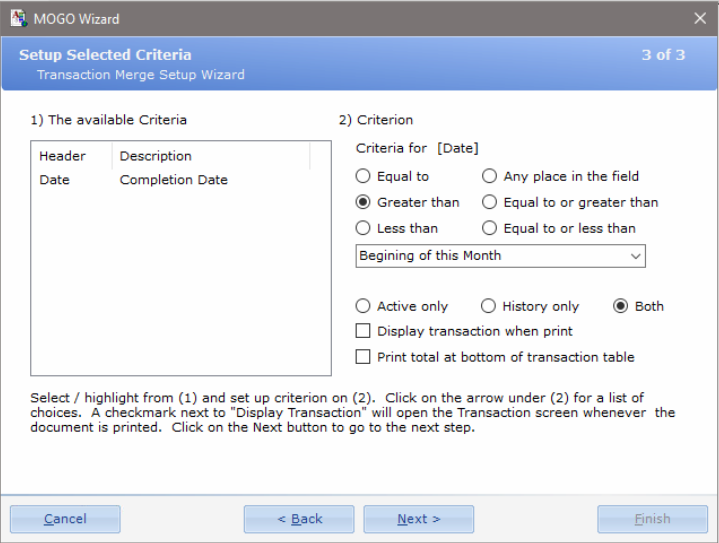
You will select the field under 1)Selected Criteria by clicking to highlight. You will then customize that field under 2)Criterion. The field you are customizing will be shown, e.g., “Criteria for [Date].
Criteria are shown for Equal to, Greater than, Less than, Any place in the field, Equal to or greater than, and Equal to or less than. After selecting from here, you will click on the down arrow in the white text box to open a list. For example, if you click on the Date field, click on Equal to, and click on the down arrow in the text box, you could select from choices such as Today, Beginning of the Week, End of last Month, etc.
You can also select if you would like to show Active only, History only, or Both.
If you mark “Display transaction when print”, the patient’s Transaction screen will open whenever you print this letter so that you can select transactions that you would like to be shown. The transactions that will be shown are based on the criteria you entered. For example, if under Date you selected “Today”, then only today’s transactions will be displayed.
You can also select to “Print total at bottom of transaction table”. The total amounts are totals of all listed treatment, whether or not they are dated.
Instructions for selecting and setting up criterion are shown at the bottom of this window.
After selecting fields of information, click on Next> button to go to Step 4. There is a <Back button that you can click on if you decide to go back to Step 2.