Transaction Merge Wizard Step 1
The Transaction Merge Wizard will merge transactions from the Patient Transaction screen with a letter that you create in MOGO’s Word Processor.
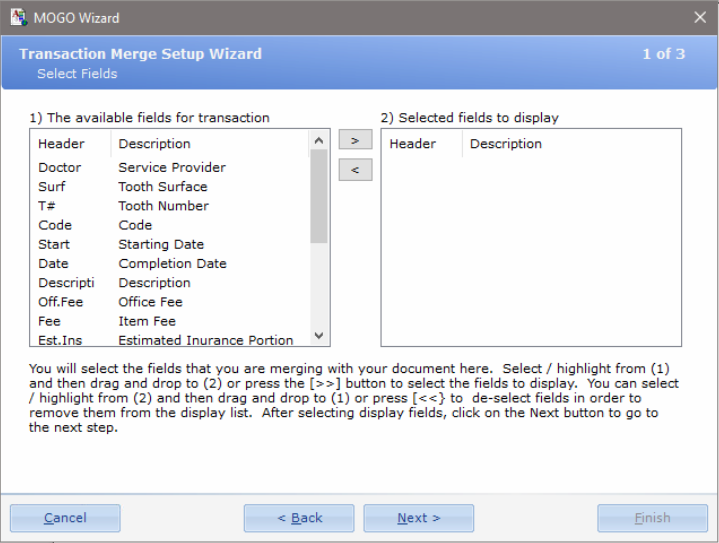
For Select Fields in Step 1 in the Transaction Merge Wizard, you will select the fields of information from the left box under 1)The available fields for transaction and then move them to 2)Selected fields to display. There is a scroll bar next to 1)The available fields… so that you can scroll through to select from various fields of information that you will be using.
To select you will click on the field under the “Header” column. The field under “Header” will be highlighted in blue. Note: You must click under the “Header” column in order for a field to be highlighted. If you click under the Description column, MOGO will remind you to double click items under the Header column.
You can then click on the button with the right double arrows to move your selection over to 2)Selected fields to display.
You can also double click to select or even click and drag selected fields to move them! To deselect fields, you will highlight them from 2)Selected fields and then click on the button with the left double arrow to deselect. You can also double click to deselect or even click and drag from 2)Selected fields to 1)The available fields.
The instructions for selecting and de-selecting fields is shown at the bottom of the window. If you make a mistake, you can always go back and change these selections at any time. Note: You will always make changes by opening the Transaction Merge Wizard again.
In addition, Step 1 even allows you to change the title of the heading. The title heading can only be changed by clicking under the “Header” column under 2)Selected fields to display.
- Click one time on the title that you want to change under the “Header” column in 2)Selected fields to display. The title is highlighted in blue.
- Click again one time. You will now have a flashing cursor and you are in the editing mode. The title is still highlighted in blue.
- Retype your new title for this field. Note: This is the new title for this table only and does not affect the actual titles under 1)The available fields for transaction.
(Click image for full size)
After selecting fields of information, click on Next> button to go to Step 2.